makeup

Romantic Language- A Date Night Makeup Tutorial!

Products:

YSL Touche Eclat foundation “BD60”

Sweet minerals brow powder “ganache”

ABH Pro pencil “base 2”

Tarte Styled by Hrush palette “Pinch”

ABH eyeshadow “pink champagne”

MakeUpGeek eyeshadow “Bitten”

NYX high definition liquid eye liner pen

YSL Touche Eclat concealer “3”

Tarte shape tape concealer “medium”

Bobby Brown sheer loose powder “pale yellow”

Lorac Tantilizer palette

Mac Bronzer “give me sun”

Armani eyes to kill mascara

Mac extended playlash mascara

Nar powder foundation in “mountain”

Mac blush “dame”

Lilly Lashes in “goodess”

Kiko lip pencil “309”

Smash box always on liquid lipstick “Miss Conduct”

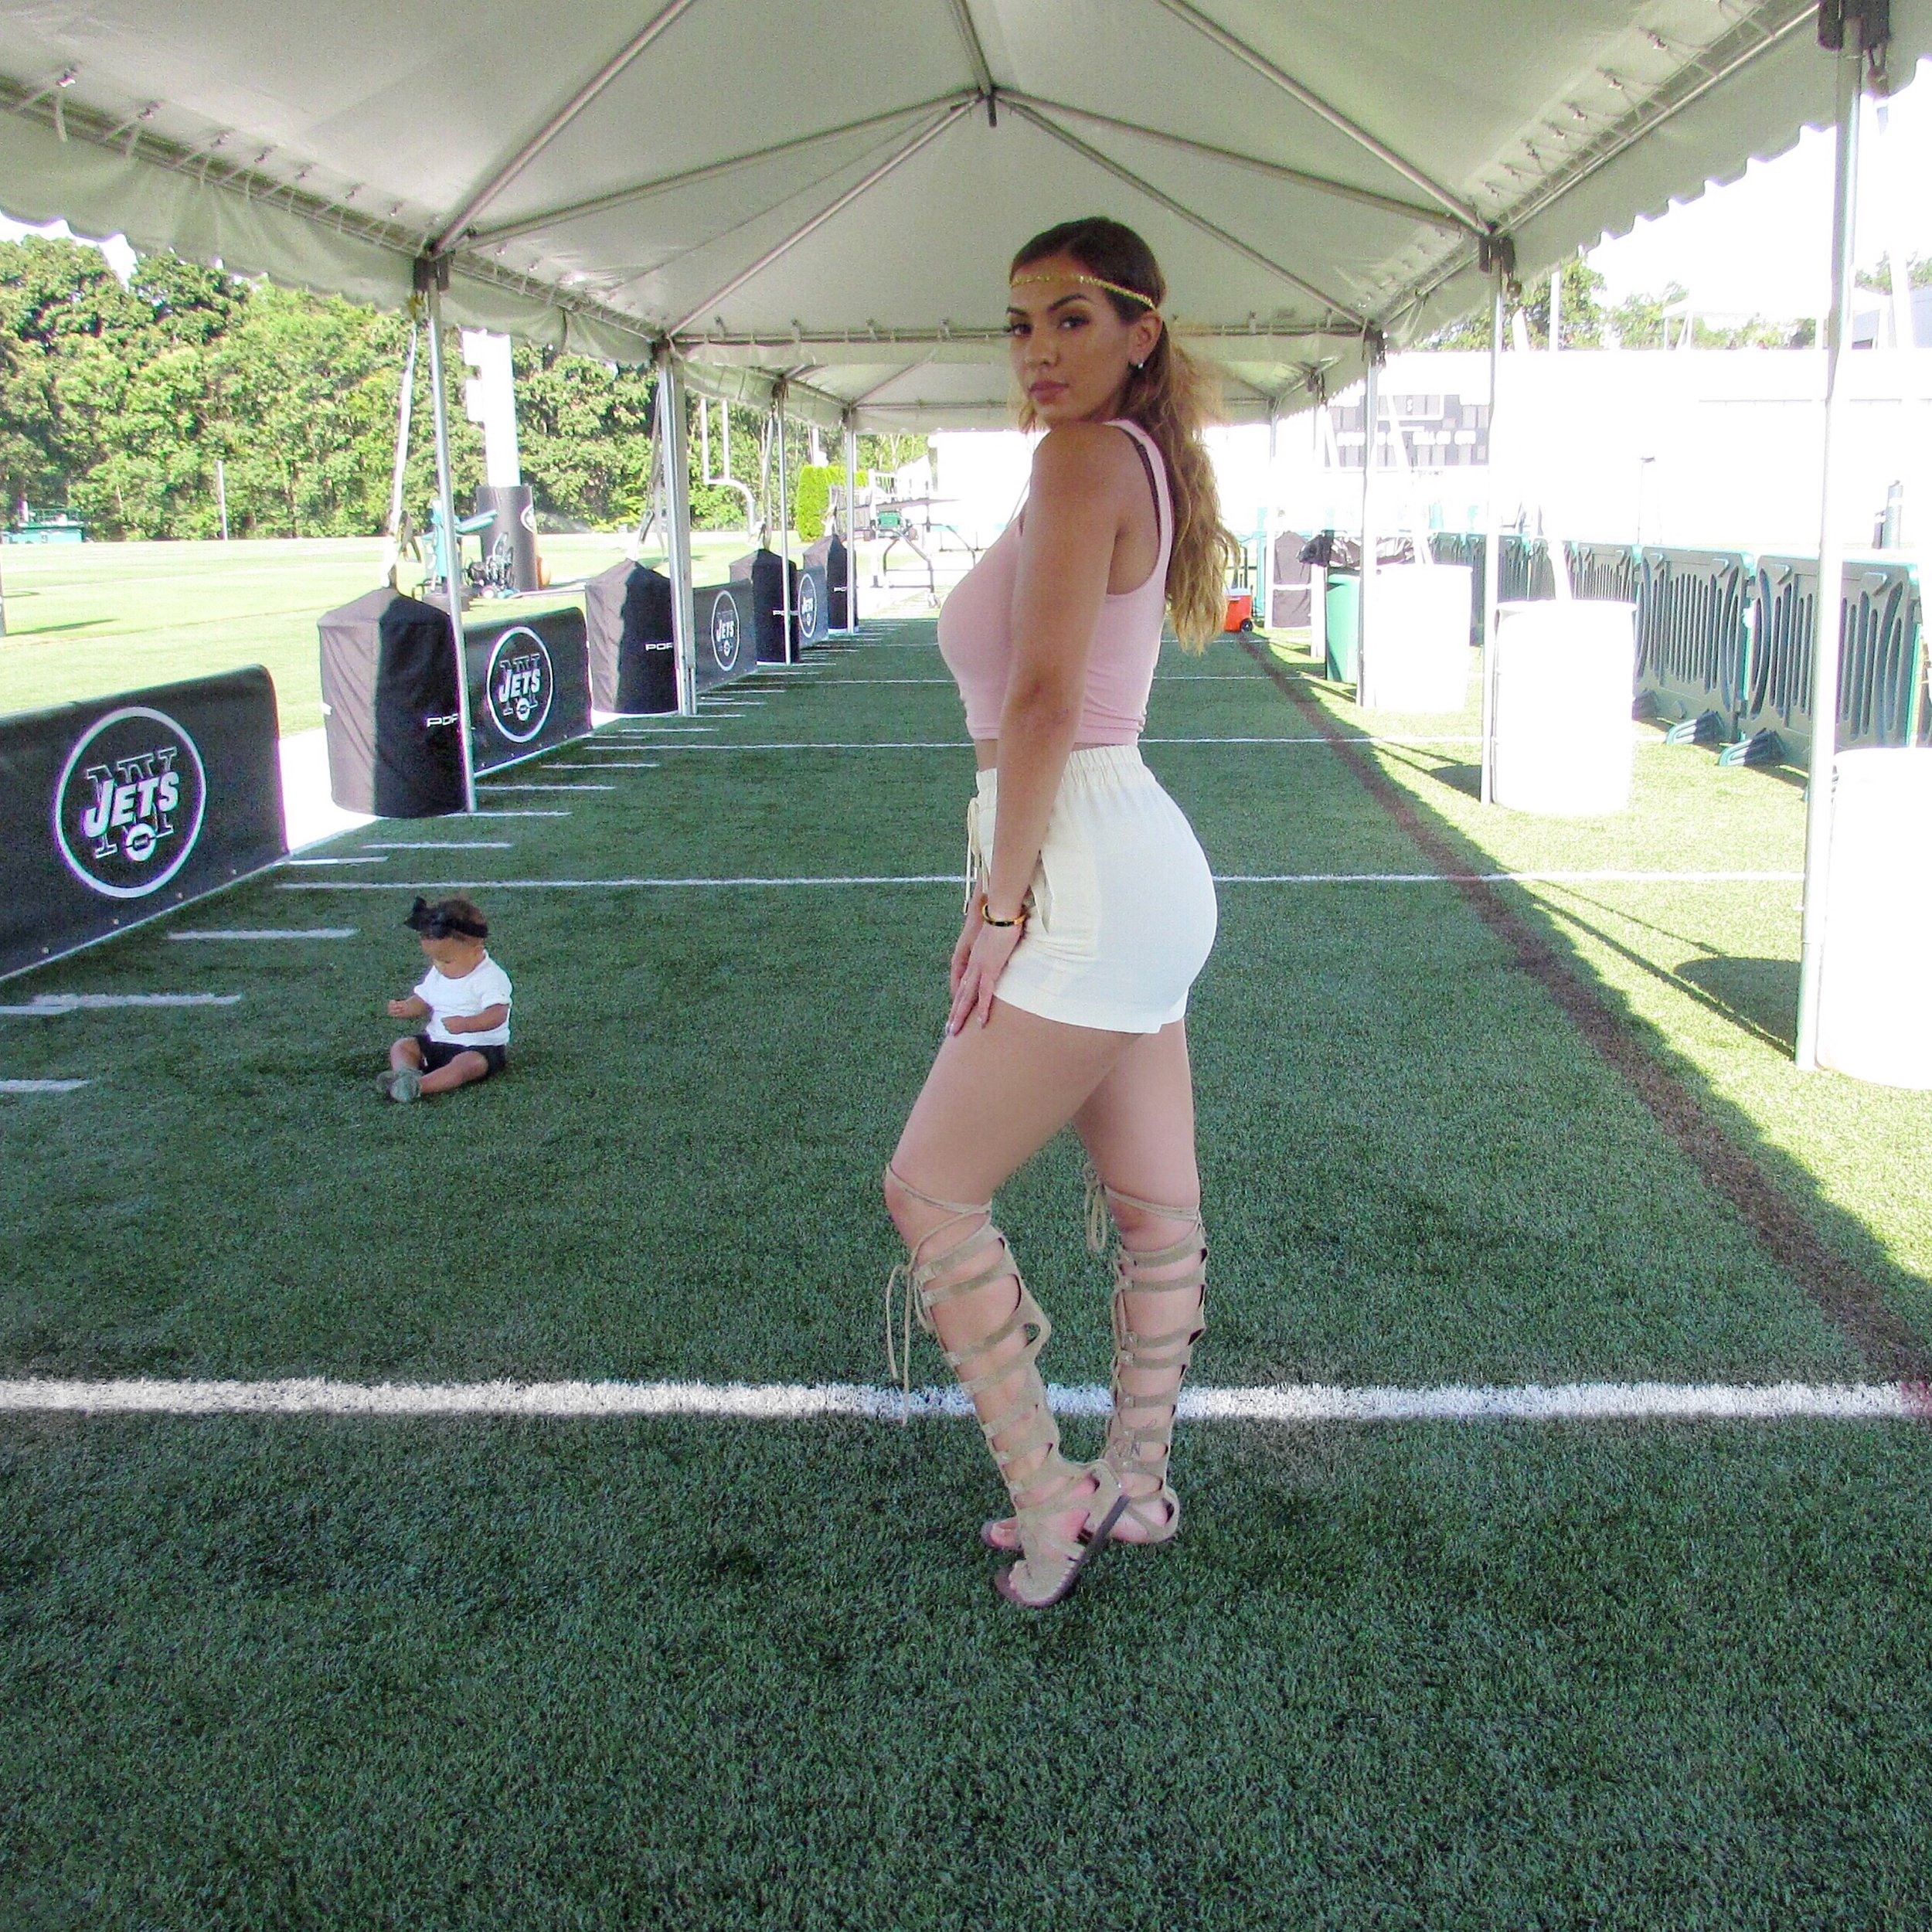
#OOTD Training Camp Edition| Nicole Camak

You can wear almost anything to see your honey at training camp but, I like to get cute when I go see my love at work!  "Mommy Functional" is a must and I only had time for either hair or makeup, naturally I chose makeup.  Nothing super special, yet simple and pretty.  xo, Nicole Headband: Natasha Accessories

Crop Top: Naked Wardrobe

High waisted short: Zara

Gladiator sandal: Free People

Baby: Sophia by Gilchrist

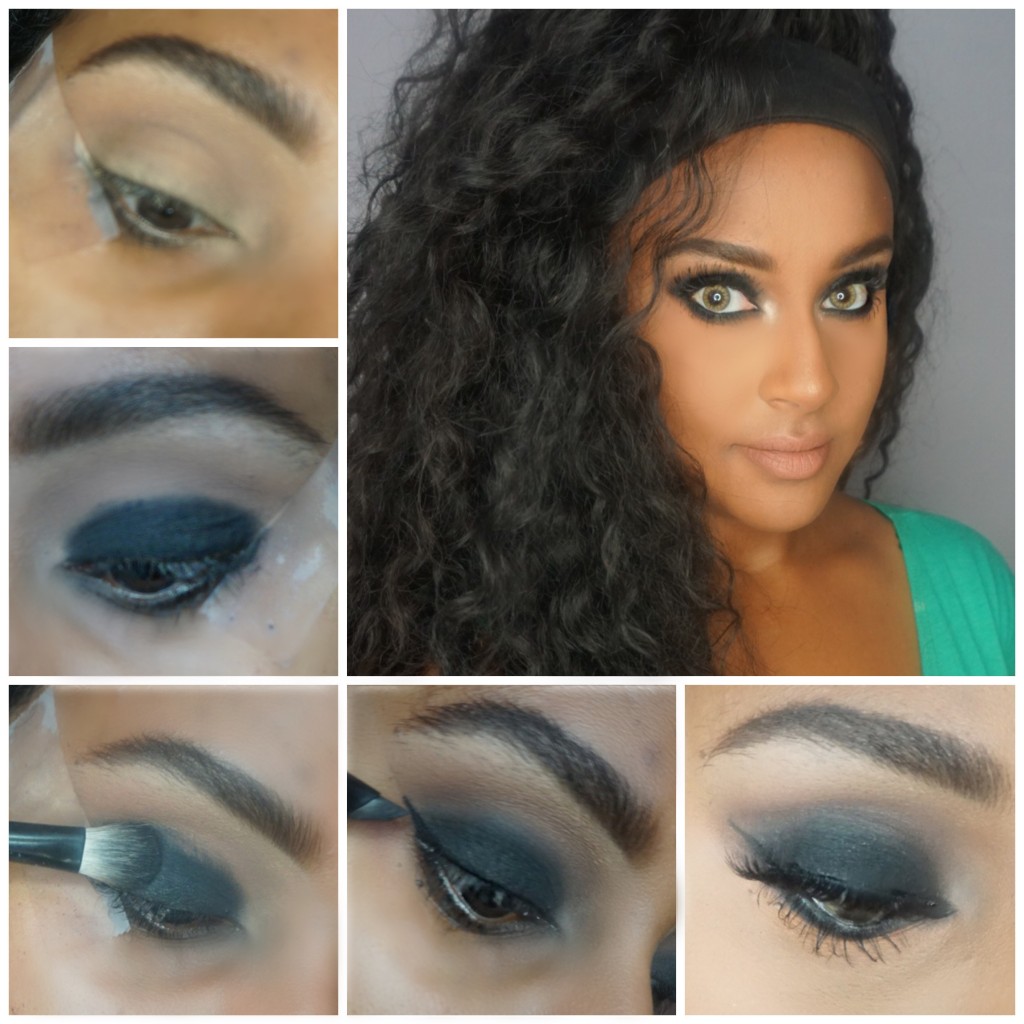
Okay ladies, now lets get in formation! A Grey Smoky Eye with a Spicy Ivy Park look!

Hello Beauty & Fashion lovers,

Todays video features a clever way to keep your hair out of your face, a sultry/sexy  grey smoky eye so simple even you can do it too and a Spicy Ivy Park Look! Let me know if you're feeling this look and if so give me a thumbs up and subscribe to my channel! xo

Skincare: Four Products for Better Skin

  This article is all about skincare! Beyond makeup, skin is always in! As much as I love a full cake face, there's nothing I enjoy more than being in my own skin with a flawless face. The older I get, the seemingly lesser control I have over my skin. The formula of workouts, sweat, makeup, kids, age, continued climate changes, and hormones (thank you Mother Nature) amounts to the perfect breakout! When I was younger, I didn't have to use the creams and serums to get perfect skin. I just washed my face and had great skin.

Every few months I'd tell myself I was going to adopt a better skincare routine: "Alright Sara! Today is the day we are gonna do this!"Unfortunately, a week into the routine and my products would end up as decor on my vanity. That was until a few months ago when I received a major wakeup call. I had a breakout so bad I ended up with scars! As a makeup artist, blogger, and just an outright makeup junkie, I'm always testing new products (so a breakout here and there wasn't anything new). This breakout, though, scared me into getting my stuff together. I was now on a mission to find the best skincare products, and a routine that would fit with my lifestyle.

I can't count how many times a client says to me they want me to give them flawless makeup like JLO and Kim K. One big consideration to keep in mind is the amount of money and care ladies such as this put into their skincare routine. The key to all makeup application is: FLAWLESS SKIN!

I have very OILY skin. In fact, my skin is so oily that in the summer I swear you could fry an egg on my face, and I wear two primers to combat the oil. Also, I have sensitive skin meaning a lot of products are harsh. That being said, below are my current favorite skincare products:

*Please note these are products that are working for me. I have tried many product lines and these are what work. Be sure to do your own research in order to find the right products for you.

Behold...

My Favorite Skincare Products (Currently):

1. BOSCIA DETOXIFYING BLACK CLEANSER

Photo courtesy of Sephora.com

This little bottle of gold is hands down my favorite! It gets rid of all the sweat, dirt, and makeup. This cleaner claims to warm up when applied and IT DOES! My biggest issue with most cleaners is that they can leave my skin dry and stiff, but this cleanser doesn't at all! I can feel my face is cleansed and I don't have the tightness that results from many cleansers. I LOVE IT!

2. OLE HENRIKSEN SHEER TRANSFORMATION

Photo courtesy of Sephora.com

I would say my number one struggle is finding the perfect moisturizer. I hate a moisturizer that leaves my face feeling greasy. I already have oily skin and I don't need added grease. There were times I would skip moisturizer which is the WRONG thing to do! Even some oil free moisturizers make me greasy and cause a mess under my makeup. The Ole Henriksen Sheer Transformation is light and the perfect moisturizer with or without makeup. Just as a warning, this little bottle is relatively expensive but a little goes a long way. It will last awhile!

3. NUDE SKINCARE ADVANCED RENEWAL EYE COMPLEX

Photo courtesy of Sephora.com

I added an under eye cream to my regimen to help brighten and care for the skin under the eyes. Skin located directly beneath the eyes is very sensitive because it's so thin. This product is light, gentle, and does brighten. When I was younger, I didn't feel an under eye cream or serum was necessary. As my skin changes with age, I'm implementing a routine that will keep my skin young and fresh.

4. TOPICLEAR CARROT CREAM

Photo courtesy of topiclearinc.com

This is a bottle of heaven! Thank you Lord for finding the perfect solution for acne scars. Topiclear Carrot Cream is a skin lightening cream. I only used it on my acne scars that covered the left side of my face. This cream was my last resort before going to the dermatologist for what I'm sure was going to be a very expensive cream or procedure. The scars from the last breakout I mentioned were that bad! As a makeup artist, I could've chosen to cover the scars with color correctors and concealers, but who wants to do that everyday? Not this wife and momma of 2! Topiclear has a ton of products based on your skin type. For example, I have sensitive skin so anything too harsh is going to be counterproductive. I don't want any burning, discomfort, or oily skin. For my skin type, I chose the carrot cream because it's the most gentle. Have dry skin? There are soaps, lotions, creams, and lighteners for that. I like that you are able to find the system that works for you and mix and match the products as you need.

If you are looking for a quick fix miracle treatment this isn't for you. But in just two weeks, I noticed a significant change. The acne scars were lighter and some were GONE! I apply it at night and with continued use, the marks get lighter and lighter. What I also appreciate about this product is that it has not affected other areas of my face but ONLY THE DARK MARKS AND SCARS. My only regret is not finding Topiclear sooner.


Please be advised these are just my opinions and experiences. Do your own research but be sure to invest in your skin!


XOXO Sara

IG: Embracingbeautybysara

Facebook: Embracingbeautybysara

Snapchat: EBBYSARA

Email: Embracingbeautybysmh@gmail.com

Valentine's Day: Date Night Makeup

Here is a super quick date night makeup for you to try. I only used 3 shadows! That's it! Watch my tutorial and view the complete product list for this look below: Evernote Camera Roll 20160214 133855


[embed]http://youtu.be/pMRgjDxbLms[/embed]

Eyes

I used the Urban Decay Gwen Stefani Palette.

Note: You don't need this palette. Any similar shades will work just fine!

  1. Under Eye - Highlight BLONDE (shimmery white or nude)
  2. Crease - ZONE (any matte brown shade)
  3. Lid - STARK (any matte white or nude)
  4. Gel Liner - INGLOT NUMBER 77
  5. Bottom Waterline - Tarte Cosmetics NUDE LINER
  6. Brows - MAC SPIKE
  7. Mascara - MALLY BEAUTY

FACE

  1. Foundation - Marc Jacobs Beauty Gel Foundation in 82
  2. Concealer - LA Girl Cosmetics WARM HONEY (more natural) and MEDIUM BEIGE (for highlight)
  3. Contour - Black Opal Foundation stick in BLACK WALNUT
  4. Beauty Blender
  5. Powder - MAC DARK
  6. Bronzing - MAC BLUNT
  7. Illuminator - Anastasia Beverly Hills Starlight
  8. Lips - 2 Color Option MAC I'M IN and Coloured Rain CHERRY BLOSSOM


XOXO,

Sara

IG/FACEBOOK Embracingbeautybysara

For any questions email Embracingbeautybysmh@gmail.com


Simple Makeup Look for the Holidays

  https://youtu.be/dsQ0gi9aRh8

I'm so happy to finally begin posting makeup tutorials!

With the holidays upon us, I wanted to create a look appropriate for any party, date night, night out, or just because you feel like rocking a full beat to the grocery store! Err...maybe that's just me. :)

Don't forget to Like, Comment, and Subscribe!

Leave any questions below or email embracingbeautybysmh@gmail.com.

Find me on Instagram @EmbracingBeautyBySara

Featured Products:

  • LORAC PRO PALETTE
  • NYX PORELESS PRIMER FOR FACE AND PRIMER IN MILK ON THE EYES
  • BECCA COSMETICS OPAL HIGHLIGHT
  • BECCA FOUNDATION IN TOBACCO MIXED WITH ARMANI MAESTRO
  • SIGMA BRUSHES FOR FACE
  • MORPHE ON THE EYES
  • ANASTASIA BEVERLY HILLS DIP BROW IN DARK BROWN AND LIP STAIN IN HEATHERS
  • BEN NYE BANANA POWDER TO SET HIGHLIGHT
  • MAC BLUNT FOR BRONZING ALONG WITH ANASTASIA BEVERLY HILLS ORIGINAL CONTOUR KIT
  • URBAN DECAY SETTING SPRAY
  • BENEFIT GEL LINER PEN
  • HAIR - THE VIRGIN HAIR FANTASY
  • LAGIRL COSMETICS ORANGE TO COLOR CORRECT; WARM HONEY AND MEDIUM BEIGE TO HIGHLIGHT
  • BLACK OPAL FOUNDATION STICK IN BLACK WALNUT FOR CONTOUR
  • MALLY BEAUTY MASCARA
  • *NO LASHES


XOXO SARA


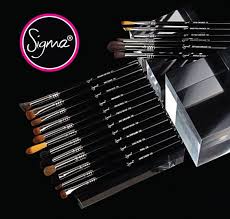
My Favorite Sigma Brushes

SIGMA BRUSHES REVIEW

images-2

I receive a ton of questions about makeup brushes so I decided to review some of my favorite brands starting with my favorite: Sigma Brushes. The excellent quality and affordable pricing is a major plus for me. I have included my absolute favorite must-haves as well as the fairly new HD brushes.

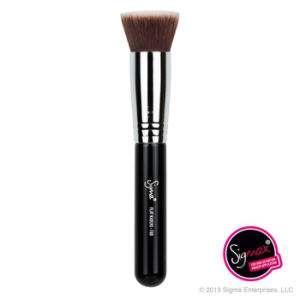
F80 KABUKI

This is my absolute must-have brush! Foundation applies flawlessly! If you are a makeup enthusiast, I absolutely recommend owning either the F80 or Beauty Blender ( I'll do another post about the beauty blender).

F80-2T

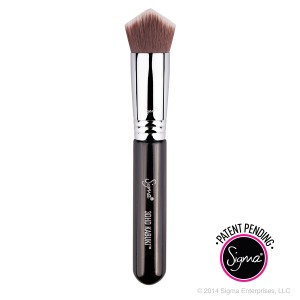
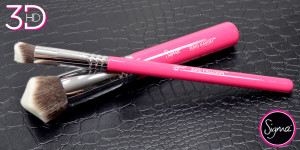
3DHD KABUKI

This brush completely surprised me. I played with it for a couple weeks waiting to find something I wouldn't like about it. This one is along the same lines as the F80 (mentioned above) except in that, because of the angle, it allows for the precision a regular kabuki brush doesn't allow. I used both cream and liquid foundations and it blended beautifully. I was able to blend my contour without any streaks. I also love that this brush is multipurpose. I was able to apply my highlight powder with precision as well. I am very impressed with this brush.

image

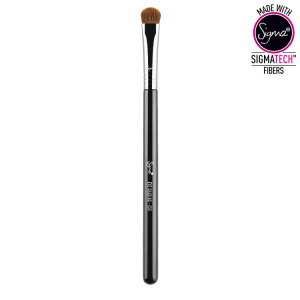
E55/E54 EYE SHADING BRUSH

These two bad boys (they are similar only one is pictured) are necessary to pack on the beautiful shadows you intend to place on the lid. They allow you to pack lid color in one or two applications rather than several attempts. Also, when made wet for a metallic foil color, they don't soak up all the product. Neither brush sheds (from my experience).

image

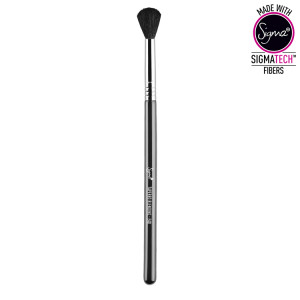
E39/25/40 BUFF AND BLENDING BRUSHES

Because if I was forced to choose only one brush to keep and the rest were taken from me, the blending brush would be it!  If you own no other brush on the planet, you NEED a BLENDING BRUSH! *you don't need all three but one is a MUST

image

3DHD PRECISION

Again along the same lines of the 3DHD Kabuki but smaller. This brush makes my heart smile. I immediately think of roses and rainbows. It's everything I hoped it would be and so much more. Useful! Multipurpose! It immediately replaced a few brushes for me. This brush blends cream or liquid highlight beautifully. It also blends contour on my nose exactly the way I like: PRECISE. I am able to powder my highlighted areas, apply highlight throughout my face AND blend the in-between areas of my face. I can't say enough about this brush.

image

Please note: I love Sigma but it's not the only brand I use. Like I stated at the beginning, I'll be pinpointing my favorite brushes from my favorite brands in the next few entries. Purchase Sigma brushes here.

Please leave any questions, comments, or concerns below.

For other inquiries and inspirations, find me on:

Instagram: @Embracingbeautybysara

Facebook: facebook.com/Embracingbeautybysara

Email: Embracingbeautybysmh@gmail.com

Foundations For Oily Skin: High Quality and Low End Options

My Top 6 Best High End Foundations For Oily Skin

FullSizeRender


Living in Florida has put my skin through the ringer. I went from having combination skin that was easy to manage, to skin so oily I could fry an egg on face! Since living in Jacksonville, I have tried many brands to find options for this greasy face. What’s the point of putting all this work in to creating a flawless face only to melt right off?

IMPORTANT NOTE: ALWAYS REMEMBER TO PRIME THE FACE FOR BETTER APPLICATION AND LONGER-LASTING RESULTS!

HIGH END

Makeup Forever Mat Velvet

Laura Mercier Oil Free Foundation

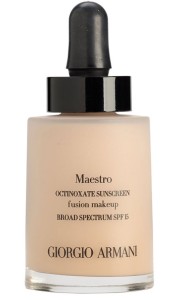
Armani Maestro

Mac Studio Fix Fluid

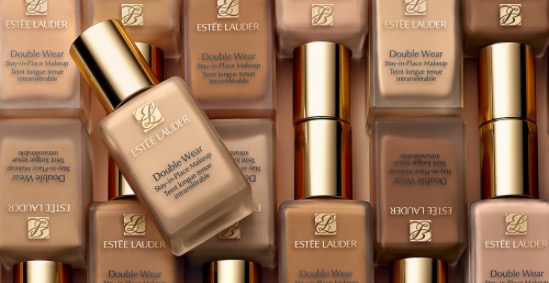
Estee Lauder Double Wear

Lancome Teint Idole Ultra


FullSizeRender

My Top 3 Best Drugstore Foundations for Oily Skin

I don’t always wear high end foundations. Sometimes I want to try a similar formula as the high end without shelling out a lot of money. There is a drugstore option for almost every high end (keyword being almost).

Little secret: shhhhhhhh Armani and Loreal are manufactured in the same factory, under the same umbrella, AND it's LOREAL that’s the parent company! You're welcome.

DRUGSTORE

Loreal Infallible Pro-Matte 24 hour Foundation

Maybelline Fit Me Matte+Poreless Foundation

Rimmel Stay Matte Foundation

* 4th Revlon Color Stay Liquid Foundation- For personal reasons, I choose not to purchase ANY Revlon products. (DO YOUR OWN RESEARCH)


XOXO Sara Leave Comments and questions below. Don’t forget to follow @embracingbeautybysara and @nflwags for more looks, details, and inspirations

Sexy Red Lips for Fall!


Over the next few months, I'll be highlighting 2015 Fall trends perfect for anyone!Processed with Moldiv

First up, the infamous sexy red lip. Ever try on a red lipstick and it just didn't quite work? When shopping, keep in mind all red lipsticks are not created equal. Finding the right shade for your skin tone can be confusing. When buying lipsticks, it's important you understand your skin tone and the undertones of lipsticks so it works for you. I have included a few swatches and descriptions for my go-to favorites.  Also listed is a guide to helping you find the perfect red lipstick for your skin tone. Please keep in mind this is just a guide (there are no definitive rules to makeup). If you love it, ROCK IT! Nothing is sexier than confidence.

1. Armani 504 - lip stain, a berry red, silky, will dry matte (must be worn with liner it will bleed recommend Mac Cherry liner) not drying, lasts forever
2. Armani 400 - lip stain , must be worn with liner to keep from bleeding, red, feels silky, matte but is not drying as above Armani has the best lip stain formula
3. Mac Ruby Woo (both Mac Cherry liner and with Nightmoth liner pictured)  -Darkened great for fall as well. I lined just the outer corner of my mouth to create an ombré affect with Nightmoth liner.
Both Mac Ruby Woo and Riri Woo are beautiful. Ruby Woo is a little dryer but the colors don’t look all that different in my opinion.
4. Nars Cruella -brownish red (beautiful fall color) Matte color
5. Nyx Pure Red - Orangish red, good drugstore alternative

From Pinterest

image2

Rock your red lip this fall! Tag #embracingbeautybysara on Instagram and #WagsRedefined on Facebook and Instagram so we can see all of your looks.
Xoxo Sara

Smokey Eye Tutorial


Follow my step-by-step instructions below to create this sultry look:Processed with Moldiv

  1. Prime Lids.
  2. Place black gel liner as base on mobile lid space ONL. I used Benefit Gel Liner in Black and blended with my finger.
  3. Working quickly before gel base dries, blend crease and area slightly above crease with a neutral brown color blend any harsh edges with a blending brush. I used Soft Brown by Mac.
  4. Take another transition shade like a darker brown and place in the crease. I used Brownscript by Mac using the same blending brush.
  5. Place black shadow on top of gel base. I used black shadow from Lorac Pro Palette.
  6. Using the same blending brush without adding any product blend crease and any harsh edges.
  7. I used same Benefit Gel Liner in Black for winged liner.
  8. Place gel liner in bottom waterline.
  9. Using small pencil brush take same black shadow and run it underneath the bottom waterline.
  10. Blend black shadow with the same blending brush just on the edges.
  11. Lashes- Shining Star lashes by Eylureand VegasNay (can be found at Target) I always use Duo lash glue **** key to applying lashes is to wait 30 seconds to a minute and once glue has been applied to allow glue to get tacky. VOILA!
  12. Add a little shimmer to the inner corner for brightness. I used Becca Highlighter in Opal.
Don’t forget to follow @Embracingbeautybysara on Instagram for more looks,details, and inspirations.
xoxo Sara
For any questions and concerns comment below